> ## Documentation Index
> Fetch the complete documentation index at: https://docs.runchat.com/llms.txt
> Use this file to discover all available pages before exploring further.
# Connecting Nodes
> Wire data between nodes in three ways: drawing edges on the canvas, inline references with Tab, and publishing parameters as connection points.
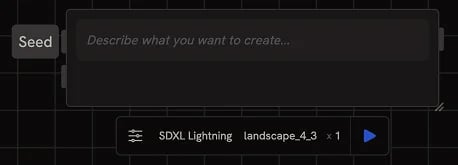
Running nodes one at a time is fine for quick experiments. The real power of Runchat is chaining nodes together so the output of one flows straight into the next. There are three ways to connect nodes: drawing edges, inline references with `Tab`, and publishing parameters.
## Drawing an edge
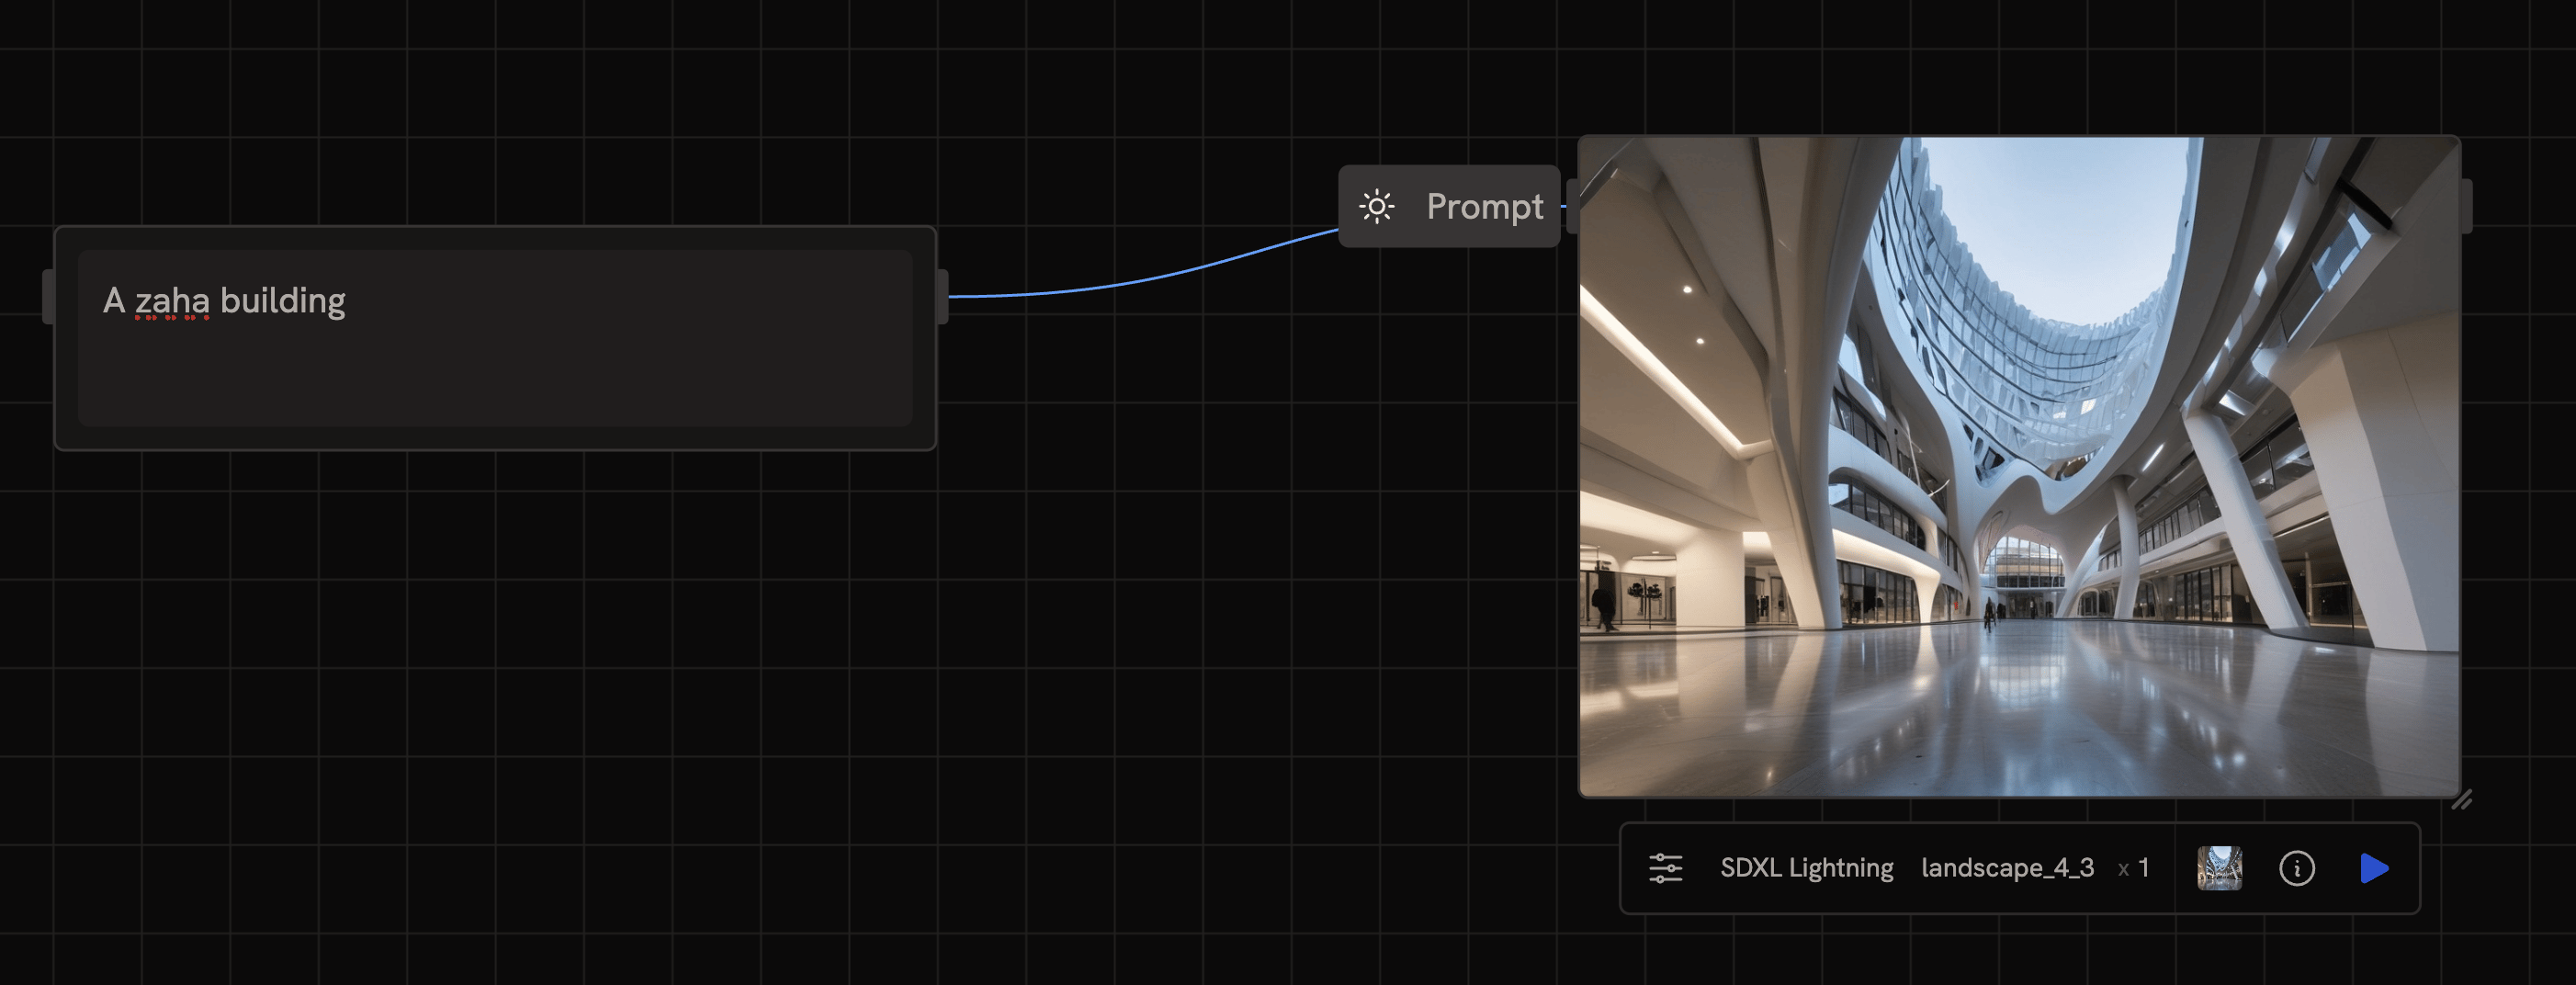
To connect two nodes, drag from an output handle on the right side of one node to an input handle on the left side of another. From then on, whenever you run the downstream node, Runchat automatically grabs the latest result from the upstream one and feeds it in.
Runchat checks compatibility as you connect. If you try to plug a video into a parameter that expects text, it won't let you, and it'll show why.
## Edge colours
Edges are colour-coded by the type of data flowing through them. You don't need to memorise these, at a glance the colour tells you what kind of data is moving:
| Colour | Data type |
| ------------------------------------------------------------------------------------------------------------------------------------------------------------------------------- | ------------------------- |
| Blue | Text |
| Yellow | Images |
| Coral | Video |
| Pink | Audio |
| Teal | 3D models / meshes |
| Lavender | Numbers and booleans |
| Cyan | Messages and chat context |
For the full list of types and how Runchat casts between them, see [Data Types](/concepts/data/data-types).
## Inline references with Tab
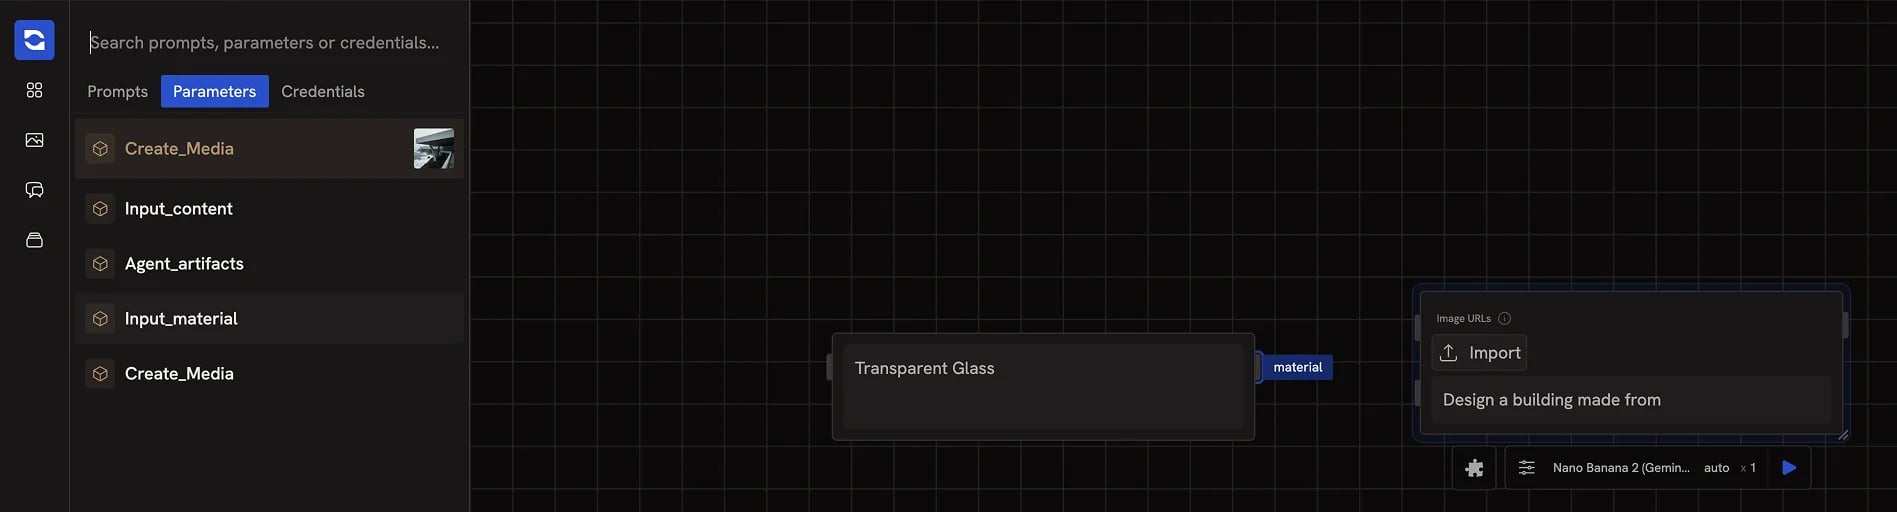
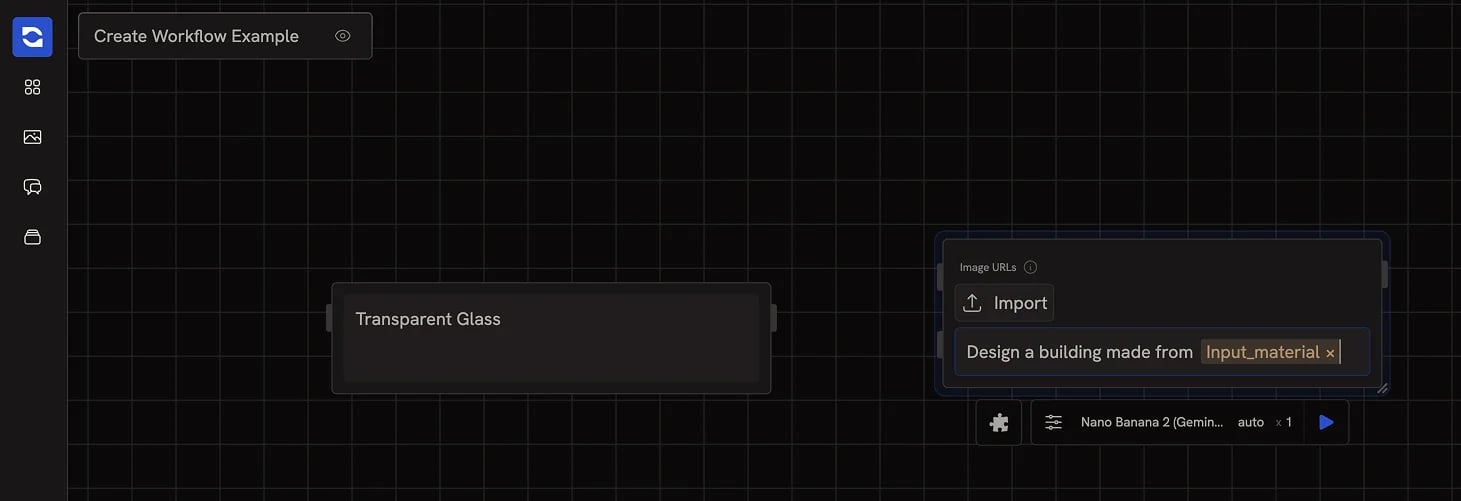
Sometimes you don't want to draw an edge, you want to drop a node's output value into the middle of a prompt. Use the `Tab` key inside any text field.
Hit `Tab` to open a panel listing every output from other nodes on the canvas. Pick one and it drops into your text as a tag. When you run the workflow, the tag gets replaced with the live value from the other node.
Typing `@` does the same thing, but also zooms the canvas out so you can
visually see which node you're about to reference. Useful when you have a lot
of nodes and can't remember what's named what.
For the full mechanics of references, see [Data Referencing](/concepts/data/data-referencing).
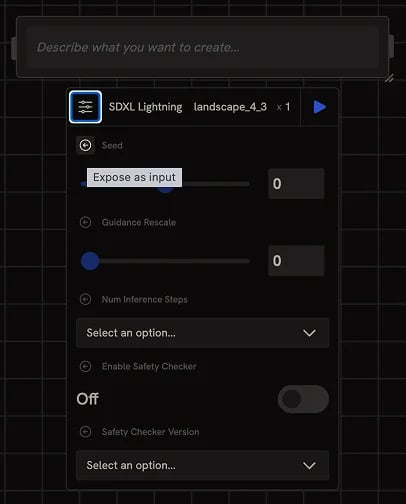
## Publishing a parameter
Any parameter in a node's "All parameters" menu can be published onto the node, which turns it into an input handle you can connect to from another node.
This is how you make settings like aspect ratio, number of variations, or model temperature controllable from the outside, driven by:
* A number input or slider
* An agent's output
* A dropdown filled in by someone using your workflow as an [App](/concepts/publishing/app-view)
Publishing parameters is what makes a workflow reusable as a [Tool](/concepts/publishing/agent-tools) or shareable as an [App](/concepts/publishing/app-view).
## When to use which
* **Edges** for primary data flow (the prompt, the image, the result).
* **Tab references** for values you want to inline into a prompt or template, they keep your canvas tidier.
* **Published parameters** for settings you want exposed to a downstream node, an agent, or an end user of your App.
 ## Drawing an edge
To connect two nodes, drag from an output handle on the right side of one node to an input handle on the left side of another. From then on, whenever you run the downstream node, Runchat automatically grabs the latest result from the upstream one and feeds it in.
Runchat checks compatibility as you connect. If you try to plug a video into a parameter that expects text, it won't let you, and it'll show why.
## Edge colours
Edges are colour-coded by the type of data flowing through them. You don't need to memorise these, at a glance the colour tells you what kind of data is moving:
| Colour | Data type |
| ------------------------------------------------------------------------------------------------------------------------------------------------------------------------------- | ------------------------- |
| Blue | Text |
| Yellow | Images |
| Coral | Video |
| Pink | Audio |
| Teal | 3D models / meshes |
| Lavender | Numbers and booleans |
| Cyan | Messages and chat context |
For the full list of types and how Runchat casts between them, see [Data Types](/concepts/data/data-types).
## Inline references with Tab
Sometimes you don't want to draw an edge, you want to drop a node's output value into the middle of a prompt. Use the `Tab` key inside any text field.
Hit `Tab` to open a panel listing every output from other nodes on the canvas. Pick one and it drops into your text as a tag. When you run the workflow, the tag gets replaced with the live value from the other node.
## Drawing an edge
To connect two nodes, drag from an output handle on the right side of one node to an input handle on the left side of another. From then on, whenever you run the downstream node, Runchat automatically grabs the latest result from the upstream one and feeds it in.
Runchat checks compatibility as you connect. If you try to plug a video into a parameter that expects text, it won't let you, and it'll show why.
## Edge colours
Edges are colour-coded by the type of data flowing through them. You don't need to memorise these, at a glance the colour tells you what kind of data is moving:
| Colour | Data type |
| ------------------------------------------------------------------------------------------------------------------------------------------------------------------------------- | ------------------------- |
| Blue | Text |
| Yellow | Images |
| Coral | Video |
| Pink | Audio |
| Teal | 3D models / meshes |
| Lavender | Numbers and booleans |
| Cyan | Messages and chat context |
For the full list of types and how Runchat casts between them, see [Data Types](/concepts/data/data-types).
## Inline references with Tab
Sometimes you don't want to draw an edge, you want to drop a node's output value into the middle of a prompt. Use the `Tab` key inside any text field.
Hit `Tab` to open a panel listing every output from other nodes on the canvas. Pick one and it drops into your text as a tag. When you run the workflow, the tag gets replaced with the live value from the other node.
 This is how you make settings like aspect ratio, number of variations, or model temperature controllable from the outside, driven by:
* A number input or slider
* An agent's output
* A dropdown filled in by someone using your workflow as an [App](/concepts/publishing/app-view)
Publishing parameters is what makes a workflow reusable as a [Tool](/concepts/publishing/agent-tools) or shareable as an [App](/concepts/publishing/app-view).
## When to use which
* **Edges** for primary data flow (the prompt, the image, the result).
* **Tab references** for values you want to inline into a prompt or template, they keep your canvas tidier.
* **Published parameters** for settings you want exposed to a downstream node, an agent, or an end user of your App.
This is how you make settings like aspect ratio, number of variations, or model temperature controllable from the outside, driven by:
* A number input or slider
* An agent's output
* A dropdown filled in by someone using your workflow as an [App](/concepts/publishing/app-view)
Publishing parameters is what makes a workflow reusable as a [Tool](/concepts/publishing/agent-tools) or shareable as an [App](/concepts/publishing/app-view).
## When to use which
* **Edges** for primary data flow (the prompt, the image, the result).
* **Tab references** for values you want to inline into a prompt or template, they keep your canvas tidier.
* **Published parameters** for settings you want exposed to a downstream node, an agent, or an end user of your App.