Open the example workflow
Make a copy of this workflow in your account to follow along.
Pick a model
Before you start, pick a chat model that matches the complexity of what you’re building:- Gemini 3 Flash: solid all-rounder for simple utility scripts
- Claude Opus or Gemini 3 Pro: for anything involving geometry logic, multiple constraints, or scripts longer than ~50 lines
Flagship reasoning models produce significantly better Rhino Python than fast
models. If a script involves more than a few lines of logic, use a flagship
model from the start. It’s faster than iterating through errors with a cheaper
one.
The simple path
Drop a Code node onto the canvas, set the language mode to Rhino Python, select the node, and ask the agent for what you want. For example:add a box with sliders for width, depth and height.
The agent writes the script, sets up parameter inputs (sliders) on the node, and you hit run to execute in Rhino. If the script errors, paste the error back into chat, the agent reads Rhino’s execution status and produces a diff to fix it.
For more on the Code node and language modes, see the Code node reference.
Pattern 1: Plan before you generate
For non-trivial scripts, don’t ask for the code immediately. Switch the agent to View permission first and have a conversation about parameters and constraints before any code is written. Example. Before asking for a tower generator, ask:Pattern 2: Build a small custom analysis tool
The Code node isn’t just for generating geometry, you can build quick one-off analysis tools for things that would otherwise need a Grasshopper definition. For a floor area calculator:- Drop a Code node, set output to Rhino Python
- Select it, prompt:
- Hit run in Rhino, pick a surface, set the floor height
- Check the console for the total
- “Keep all the contours visible after running”
- “Highlight any floor below a minimum area”
- “Write the floor areas to a CSV”
- “Add a label showing each floor’s area on the model”
Pattern 3: Generate from reference images
Pasting a reference image into chat gives the model far more context than words alone. The agent infers form language from the image, cylindrical towers, curved Boolean subtractions, wedge chamfer cuts, just from one good reference. For a random massing generator:- Drop a Code node, set output to Rhino Python, select it
- Paste a reference image of the kind of massing you want into chat
- Prompt:
A random massing generator that produces a grid of options like this image. - Run when the agent finishes writing, pick parameters when Rhino prompts
- First pass: “random massing generator, grid of options”
- Next: “let’s combine different primitives like in the reference image”
Pattern 4: Build, optimise, and extend
For a complete loop on a more demanding task, like a flocking simulation, the pattern is:- Plan in View mode. Set the agent to View, chat with Flash about requirements and implementation options before any code is written.
- Build with Opus. Switch to Edit, change to Opus, ask it to build your chosen approach. You get a code node plus sliders wired to the parameters (agent count, separation, alignment, cohesion). Big builds cost around 1,000 credits.
- Swap sliders for an Eto Forms GUI. Tweaking sliders in Runchat gets old. Ask the agent to add an Eto Forms dialog inside Rhino and remove the unused sliders.
- Fix errors inline. Paste errors back into chat. The agent reads the code and replaces the broken lines. Two or three cycles is normal.
- Extend behaviour by asking. “Make the agents responsive to a mesh.” The agent will ask clarifying questions (attraction or avoidance?) and add the feature once scoped.
- Optimise for scale. Ask the agent to optimise for 10,000+ agents. It will bypass direct Rhino object management, implement its own viewport drawing, and restructure hot paths.
Using screenshots to fix visual issues
When a script runs but the output looks wrong, screenshot the Rhino viewport and paste the image into chat. The agent can see what’s wrong visually and fix the logic. In a tower generator example, columns were sitting right next to the core. A screenshot plus “the structural logic is odd, columns are too close to the core” was enough for the agent to rewrite the placement logic.Saved scripts
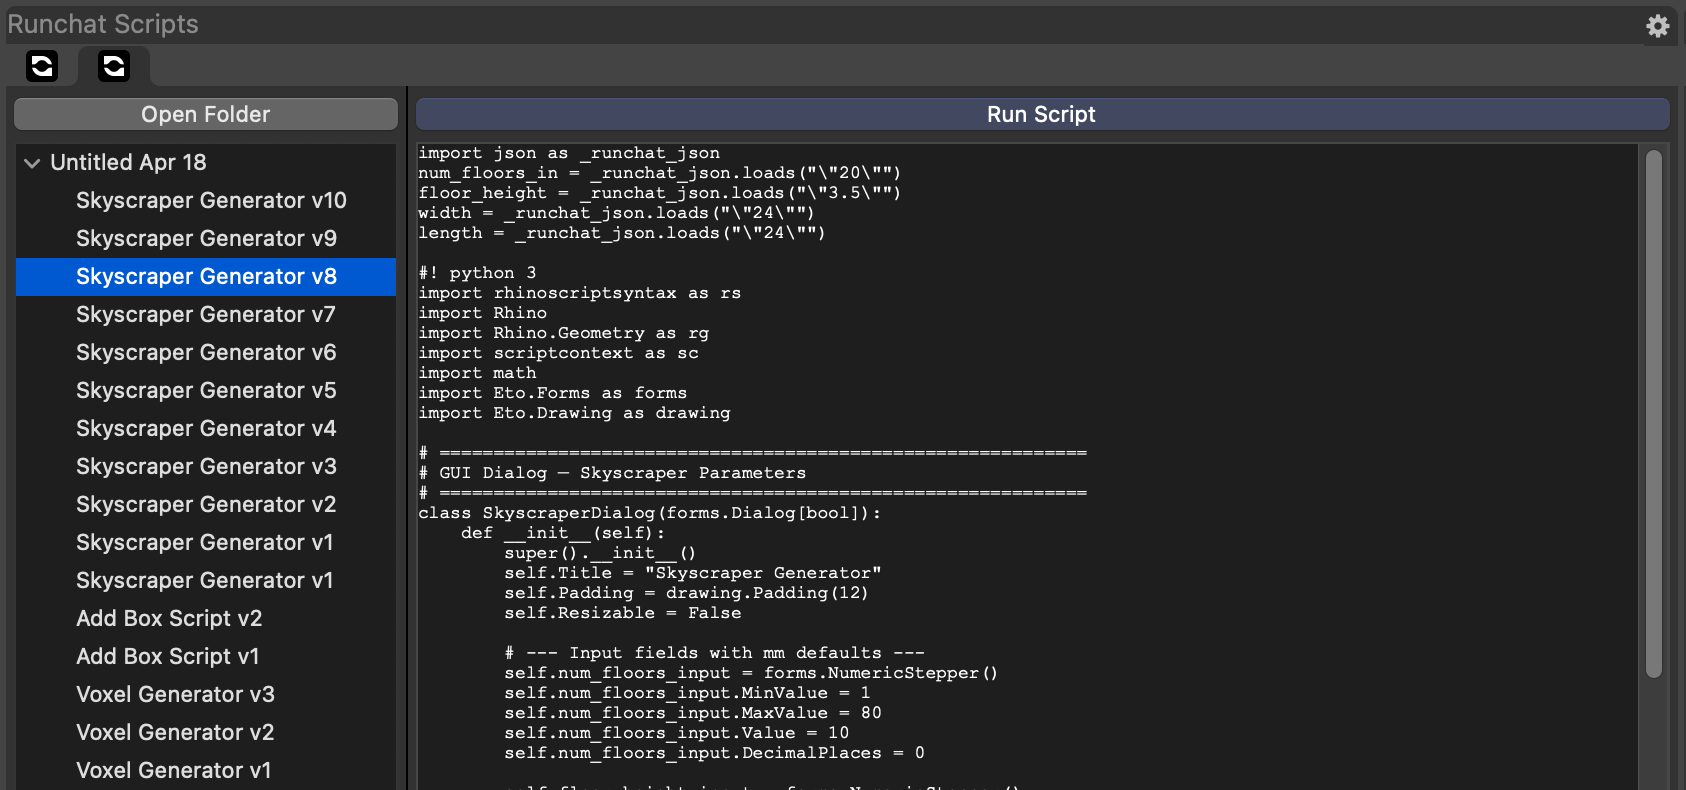
RunchatScripts command:
- Re-run any previous iteration
- Copy the code to share with colleagues
- Roll back after a change you don’t like
Runchat command.
Useful patterns
- Add a GUI instead of sliders: ask the agent to produce a dialog window in Rhino with sensible defaults. One window, all parameters.
- Specify units: if your Rhino doc uses millimetres, tell the agent.
- Iterate incrementally: get a working basic version first, then layer complexity.
- “Ask questions before writing”: for ambiguous prompts, instruct the agent to clarify before generating. Saves rewrites.
Next steps
- Build parametric panelling scripts, for advanced constraint-heavy generation with curvature-aware placement
- Code node reference, full reference for code modes and parameters
- Runchat for Rhino, full plugin reference