Open the example workflow
Make a copy of this workflow in your account to follow along.
For a tour of the image editor itself, see this 4 minute
video.
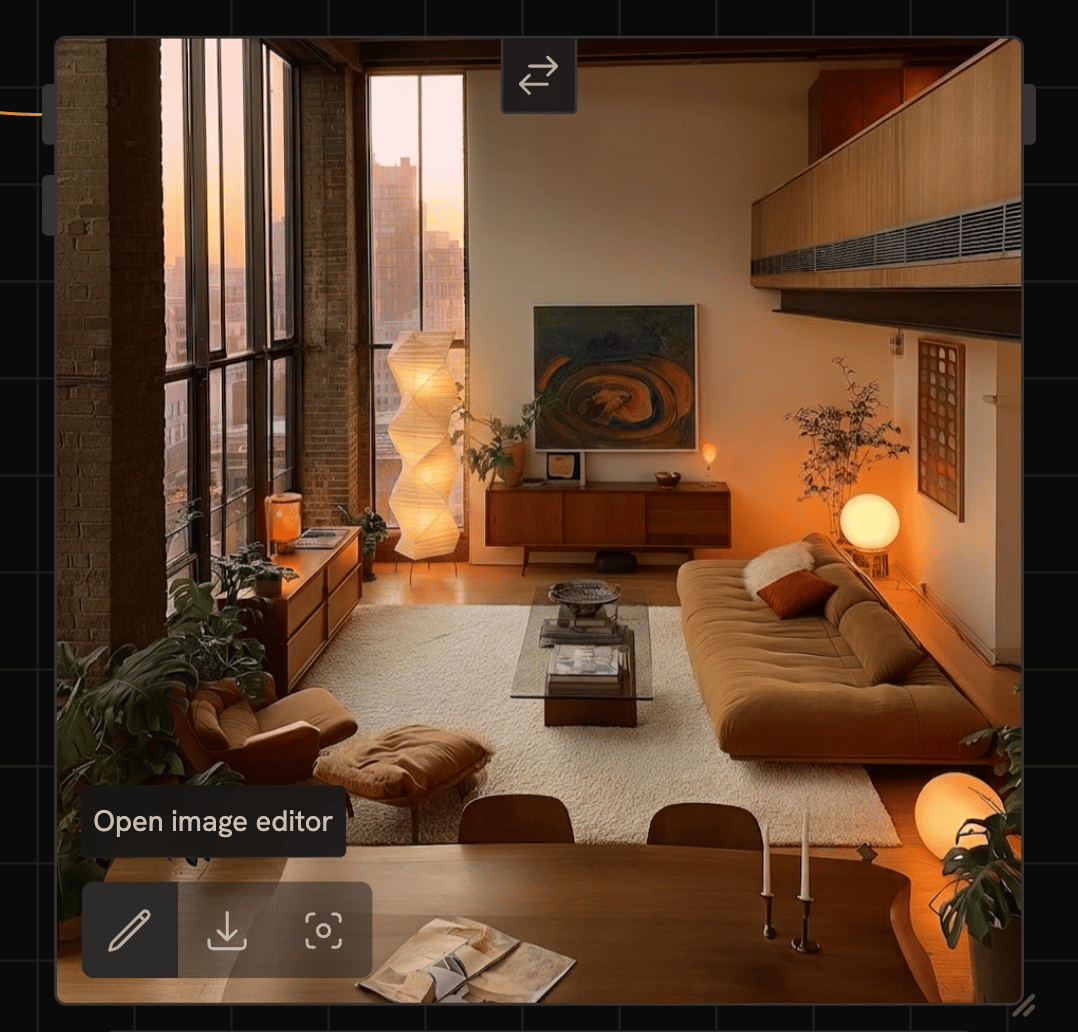
1. Open the image editor
Tools
- Mask (M): paint a region for the model to edit. Default tool.
- Brush (B): regular pen. Set size and colour from the tray.
- Eraser: works on whichever layer you have selected.
- Arrow (A): draw a line with an arrowhead. Good for pointing.
- Text: add text on the canvas.
- Crop: drag a rectangle, optionally lock to a fixed ratio.
2. Mask the area you want to change
PressM to make sure the mask brush is active, then paint over the area of the image you want the model to edit. The mask layer is always red.
Hit save when you’re done. The image node updates and you can flip back to your canvas.
3. Branch a Create node and write the prompt
Drag from the masked image’s output to a new Create node. Pick Runchat Image for fast iteration, or Nano Banana Pro for ship-quality work. The prompt should have three parts:- Name the mask. Start with “In the red mask area…” to anchor the model to the region you painted.
- Be concrete. “A thoughtfully designed outdoor space with colourful furniture” beats “make it nicer”. Vague verbs like “improve” or “fix” almost never work.
- Point at a reference. When you have a reference image, mention it: “…using the furniture from the reference image”.
4. Pasting a reference into the image
When the model struggles with scale between a separate reference and your target, paste the reference into the same image as a new layer:- Copy the reference (or drag it onto the canvas first, then copy from there)
- Double-click into the target image to open the editor
- Paste, it lands as a new layer
- Tuck it into a corner where it covers something you don’t mind losing
- Save
5. Try one edit at a time
Single edits beat compound ones. Asking for three things at once usually gets you one right and two wrong. Branch a new Create node for each change and layer them. Simple unrelated edits, adding a person plus interior lighting, can compound fine. Four things at once cannot. When a result is close but not right:- Adjust the mask and rerun. The mask is the cheapest variable to change.
- Switch to a stronger model like Nano Banana Pro on the same prompt.
- Mask the leftover artefact and run a cleanup edit on top.
Quick tips
- The mask brush is the default tool. You don’t need to switch.
- Smaller brush for fine edits like adding a figure.
- Pan and scroll the editor viewport like the main canvas.
- Backspace deletes the active layer.
- Layer history is preserved across sessions, your mask stays editable when you reopen.
Next steps
- Render from a Rhino screenshot, generate the baseline images these edits build on
- Train a custom LoRA, for systematic style consistency across edits