Open the example workflow
Make a copy of this workflow in your account to follow along.
View a published artifact
See the kind of output this workflow produces.
What an artifact is
An artifact is a published, shareable webpage generated from your workflow’s outputs. Three common formats:- Single-page website: portfolio, case study, landing page
- Small interactive app: image gallery, lookbook, 3D viewer
- Slide-style presentation: for client reviews or pitches
1. Build a body of work
Before publishing, produce a small coherent set of assets. Pick a style and apply it consistently:- Photographic style: interiors, architecture, product photography, landscape
- Graphic style: illustration, diagram, poster, branding
- A set of images (at least four, ideally more)
- One additional asset type (a short video, or a 3D model)
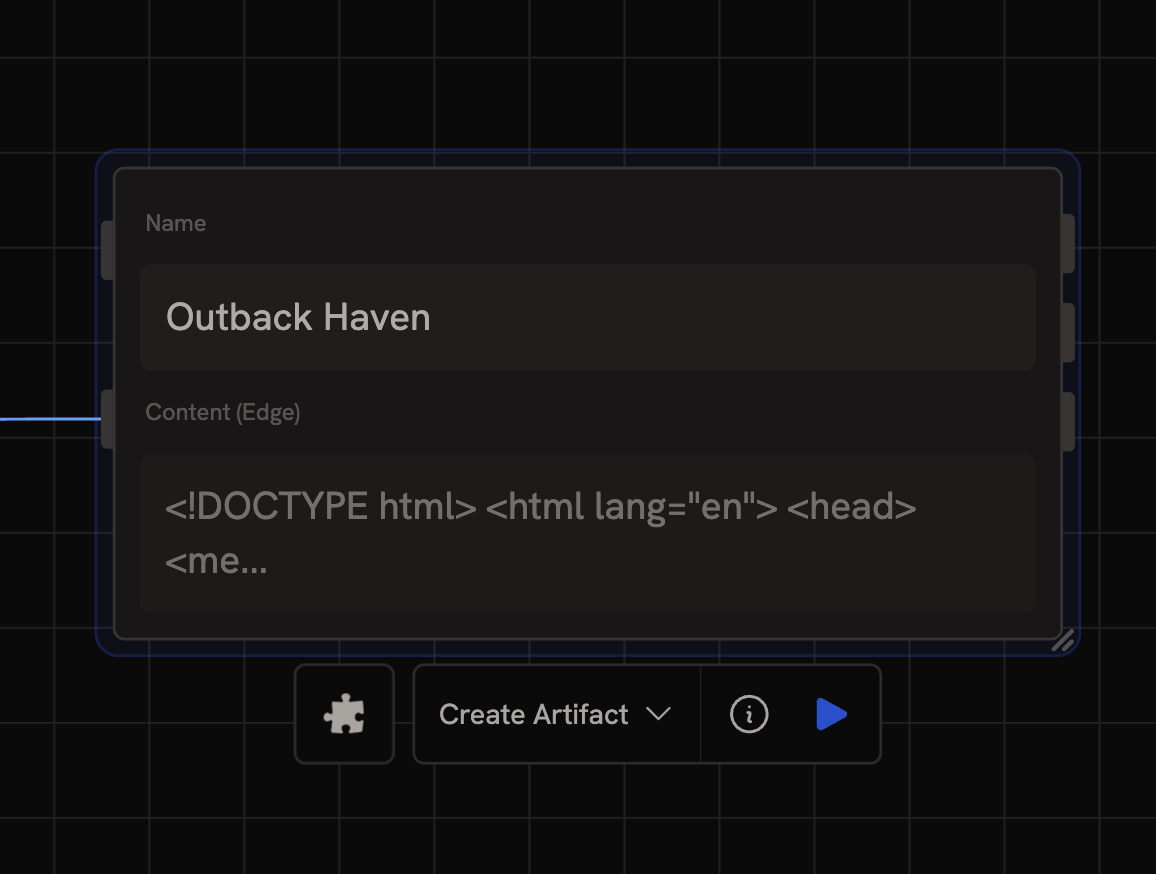
2. Ask the agent to build the artifact
Open chat and select all your generated assets on the canvas. The agent reads what’s there, writes the code, and renders it as a live artifact. Be specific about what you want. Examples:3. Publish via the Artifact node
4. Set your handle (first time only)
Visit runchat.com/dashboard/artifacts. The first time you open this page you’ll be prompted to choose a handle, this becomes the public URL prefix for all your artifacts. Your artifacts will live at:https://runchat.com/p/<your-handle>/<artifact-slug>
5. Share
Every artifact has a shareable URL. Copy it from the dashboard and send to anyone, clients, teammates, social, they don’t need a Runchat account to view. If you need to update an artifact later, set an Artifact node to Update mode and connect it to the artifact ID.Tips
- Strong style consistency matters more than asset count. Four images that share a clear visual language beat ten that don’t.
- Describe the brief, not the layout. “A professional portfolio for a residential architect” gives the agent more to work with than “5 images and 1 video on a white background”.
- Iterate by chat. “Make the gallery 3 columns instead of 4.” “Use a serif headline font.” The agent edits the artifact’s code and republishes.
- Test the share link in an incognito window before sending. Make sure the page loads cleanly without your logged-in state.
Next steps
- Tools, Apps, and Libraries, for the difference between Artifacts (presentation pages) and Apps (interactive workflows)
- Artifact node reference, full reference for create / get / update modes
- Artifacts dashboard, manage and edit artifacts after publishing