Selecting a model
Click the model dropdown in the settings bar to pick from any installed media model. The Create node only shows models that produce media (images, video, 3D, audio). Pricing for each model is visible in the picker. You can swap models without losing your prompt or other inputs, useful for trying the same prompt across several models. See Models for installation and Credits for the full pricing table.Prompt
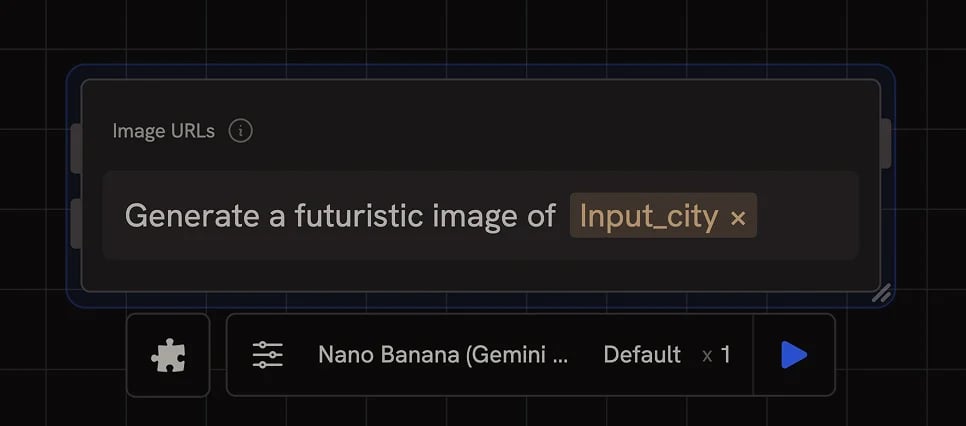
Use the prompt input to describe what you want the output to look like, or what you want changed when editing an existing image. Most current models (Nano Banana, Gemini Image, Flux Kontext, GPT-Image) accept instruction-style prompts like “change the shoe to red” or “add fog to the background”, and follow them closely. A few older image-to-image models like SDXL behave differently: they treat the prompt as a description of the whole image rather than an instruction. If a model isn’t responding to instructions, this is usually why.Reference inputs
Some models take a reference image or video as input — image-to-image, image-to-3D, and image-to-video models, for example. When you select one of these, the Create node adds the necessary input parameter automatically. Wire in any image or video output from another node.Mask
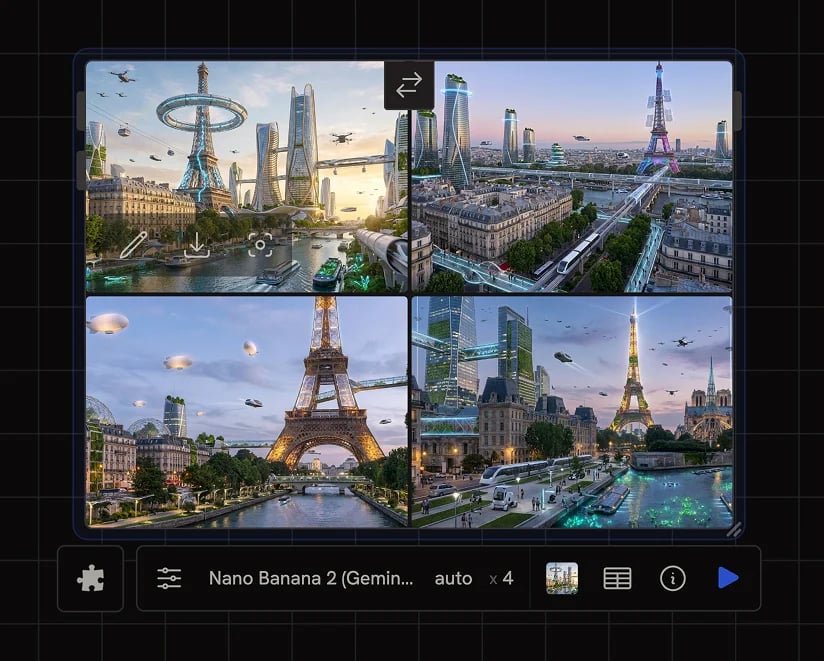
Some models (e.g. Flux 1.1 Pro Fill) accept a mask to specify the region of the image to edit. Provide a mask via the Mask input.When the Create node generates multiple outputs (images, videos, 3D models)
they appear as a grid. Hold
Alt and drag any item from the grid onto the
canvas to create a new node from it.Settings bar controls
The settings bar shows controls relevant to the chosen model:- Model: pick a media model from your installed library
- LoRA: appears for models that support LoRAs (e.g. Flux LoRA), pick a trained adapter
- Duration: for video models, select the output length
- Size: for image and video models, set the aspect ratio or resolution
- Variations: how many variants to generate per run
Image hover options
- Open image editor (pencil icon): opens the Image Editor for sketching, masking, layers, and transforms.
- Download original (download icon): saves the source image to your computer at full resolution.
- Lock aspect ratio (viewfinder icon): pins the node’s display ratio to this image so the next run renders at the same shape. Click again to unlock.
Next steps
- Models: install additional models from Fal or OpenRouter
- Credits: cost per image/video/3D model
- Custom LoRA models: train and use your own LoRAs
- Generate images with reference images: worked example using image-to-image