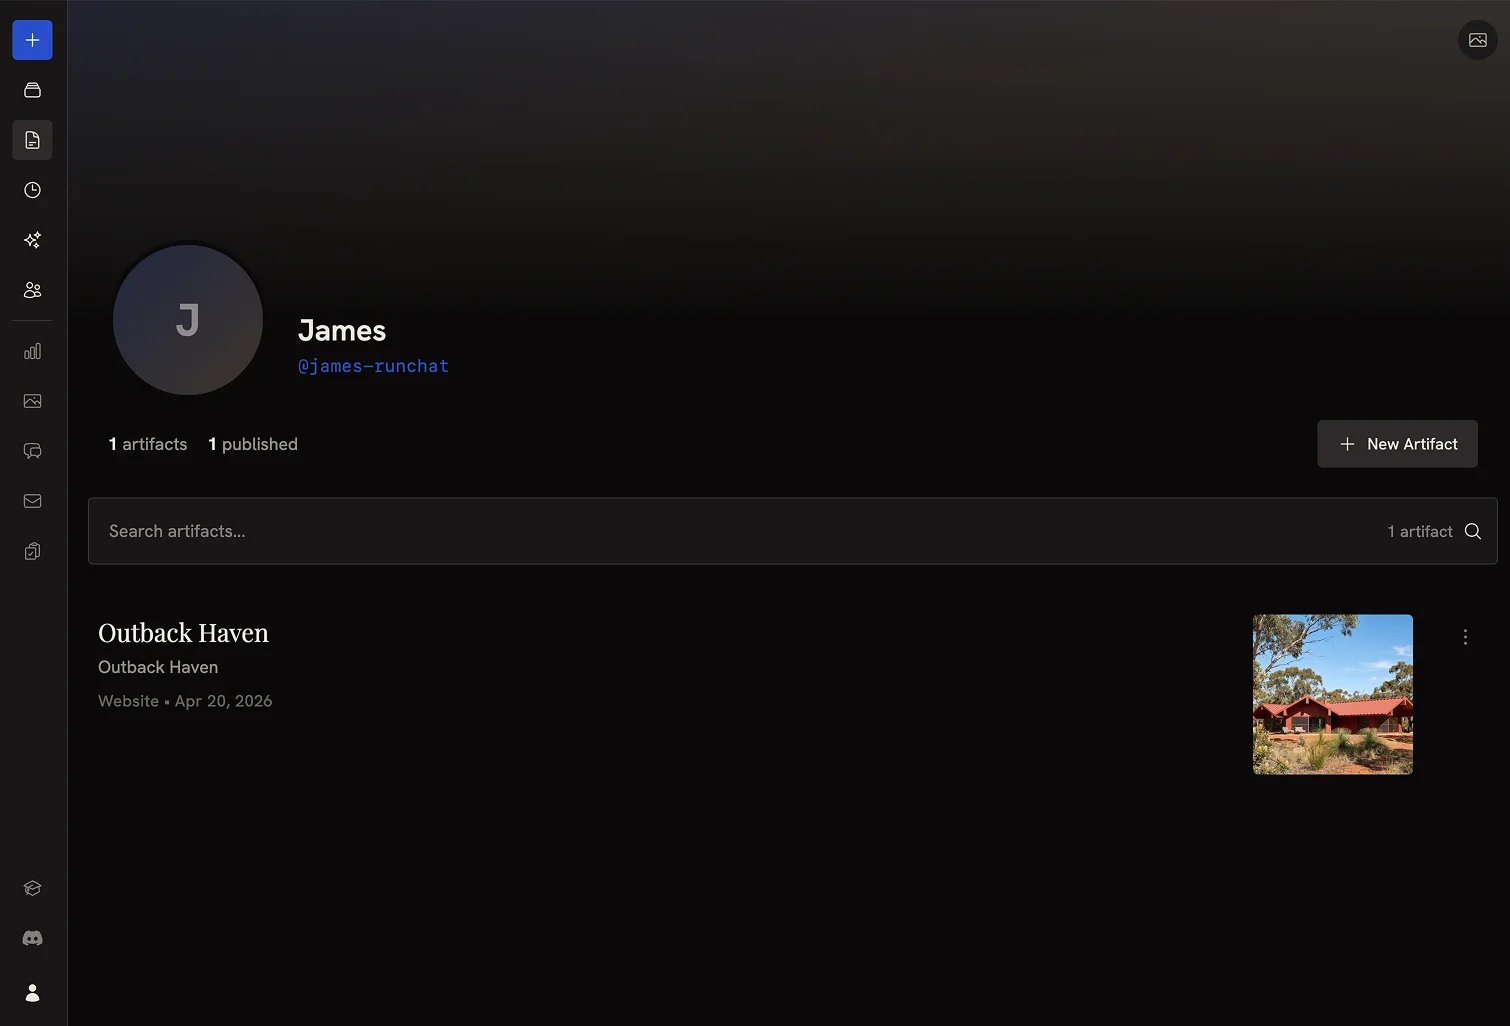
A live example
Here’s a working artifact published from a workflow. Click into it to see how it renders to a public visitor:Choosing a handle
The first time you open the Artifacts dashboard you’ll be prompted to choose a handle. Your handle determines the URL where your artifacts are visible. All published artifacts live on the public web athttps://runchat.com/p/<handle>/<artifact-slug>.
Editing an artifact
Click the Edit button next to an artifact to open the markdown or code editor. From here you can refine the text, layout, or styling. Useful when the artifact was produced by a workflow as a draft and needs human polish. If the artifact has multiple files (e.g. a website with HTML, CSS, and JS), select files from the files menu in the editor toolbar.Metadata
Open the Metadata panel from the editor menu to set:- Page name
- Thumbnail
- Description
- Author
Previews
For websites, click the preview button to toggle between the code editor and the rendered HTML. Useful for quickly reviewing code changes before publishing.Publishing
Click the Publish button in the editor toolbar to save your changes and push them to the public web. The artifact URL ishttps://runchat.com/p/<handle>/<slug>.
Next steps
- Artifact node: generate artifacts automatically from a workflow
- Build and publish an artifact: worked example of building an artifact end-to-end
- App view: the alternative when you want a workflow-backed UI rather than static published content