

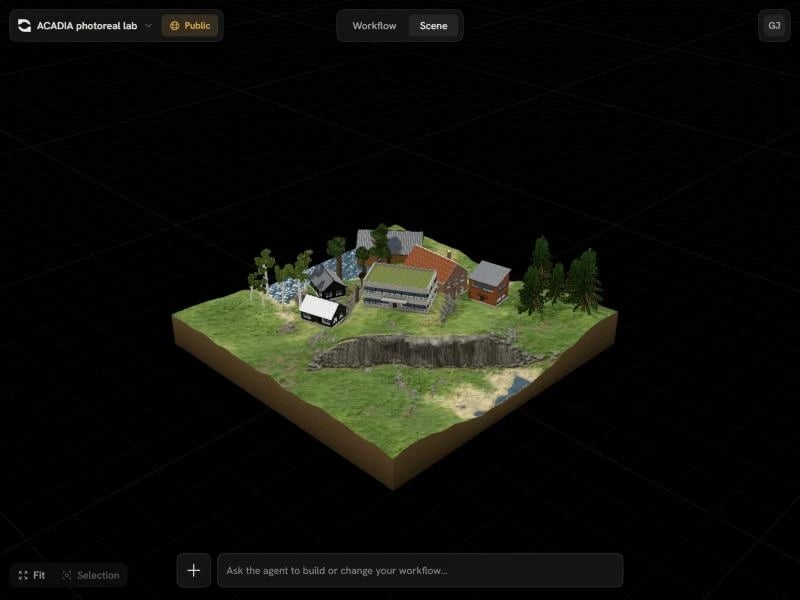
Opening the scene
Use the Workflow / Scene switch at the top of the editor. The canvas stays where it was underneath, so you can flip between the two at any time. In the Scene view:- Orbit, pan and zoom with the mouse, as in most 3D viewers
- Click an object to select it, and Shift-click to add to the selection
- Double-click an object to select it and zoom to it
- Fit (bottom left) frames everything, and Selection frames what you have selected
Modelling with the agent
Open the Scene view and ask the agent for what you want: “block out a two-storey house on a 20 by 30 m site”, “add a row of street trees along the north edge”. The agent builds with simple shapes (boxes, cylinders, spheres and extruded outlines), small custom meshes, and hosted 3D models, then renders the scene to check its work before replying. Select objects before you send a message and they go to the agent with it, the same way selected nodes do on the canvas. That lets you point at things: “make this one three storeys”, “move these behind the cliff”.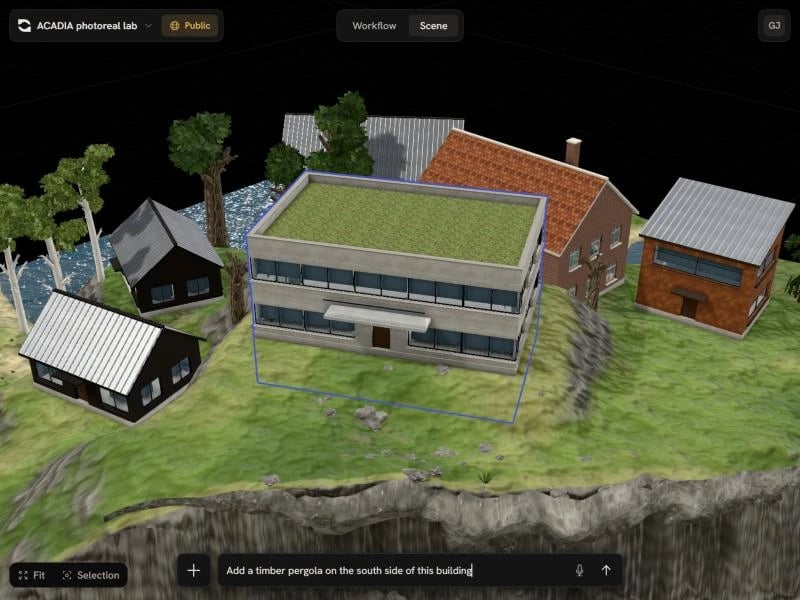
Units and orientation
The scene is in metres, with Z up, X east and Y north. An object’s position is the centre of its base, so a box at height 0 sits on the ground rather than half under it. Ask in real dimensions and the agent models to them.Building with a team
With agent teams on, the lead can hand parts of a scene to teammates. The Modeller specialist works in the scene by default. Each agent keeps its work in its own group and only changes objects it made or was handed, so a landscape, a building and the planting around it can go up at once without agents overwriting each other. Every object records who last changed it, so you can ask the agent “who placed the trees?” or “remove everything the modeller added”.Adding your own models
Click the + button in the Scene view: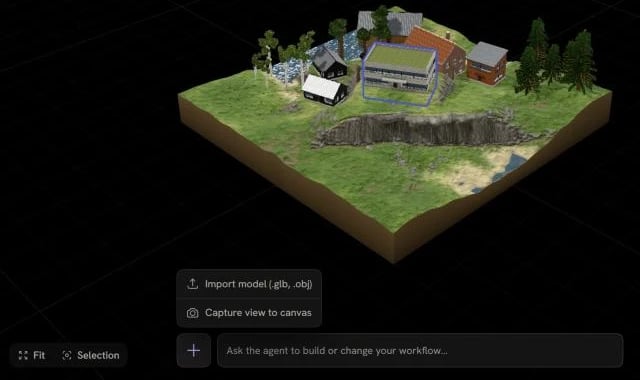
- Import model (.glb, .obj) uploads a model from your computer. OBJ files are converted to GLB. Each file can be up to 25 MB.
- Pick from Rhino appears when the Rhino plugin is connected. Select objects in Rhino and press Enter, and they come in at their real position and size, converted to metres. Surfaces, solids, SubD and meshes come across; curves, points and blocks are skipped. This needs Rhino 8.
From the scene to a render
Capture view to canvas (in the same + menu) takes the scene as it is framed now and puts it on the canvas as an image input node. Connect that to an image model to turn a massing study into a render, in the same way as rendering from a Rhino screenshot.Apps that build in the scene
Apps on the canvas can add geometry to the scene too: a terrain generator, a building designer, a planting tool. Each one designs on its own, then places its result in the scene when you (or an agent) choose Add to scene. Apps can also read what is already there, so a building can sit on the terrain another app made.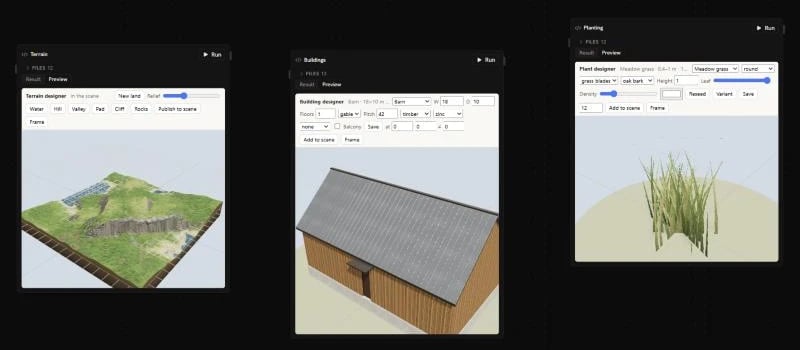
Saving and sharing
The scene is saved and backed up with the workflow: restoring an earlier version brings back its scene, and copying the workflow copies the scene too. Anyone who can view the workflow can view the scene; only people who can edit it can change it.From the CLI and MCP
The scene tools are available to external agents through the MCP server and the CLI:Limits
- Up to 2,000 objects per scene
- Hosted model files up to 25 MB each
- Small custom meshes stored in the scene itself up to 2,000 vertices; anything larger is saved as a model file